
After the Leak Report: Repair, Mitigation, and Re-Inspection in Westfield
Read the report as a repair scope, not as a single verdict. Protect the home first with temporary mitigation that limits further water entry, then have the leak entry points and damaged details repaired in the order the report ranks them, and finish with a re-inspection that checks the repaired areas against the original findings. That sequence — scope, mitigation, repair, re-inspection — is what turns a report into a closed-out problem instead of a recurring stain on the ceiling.
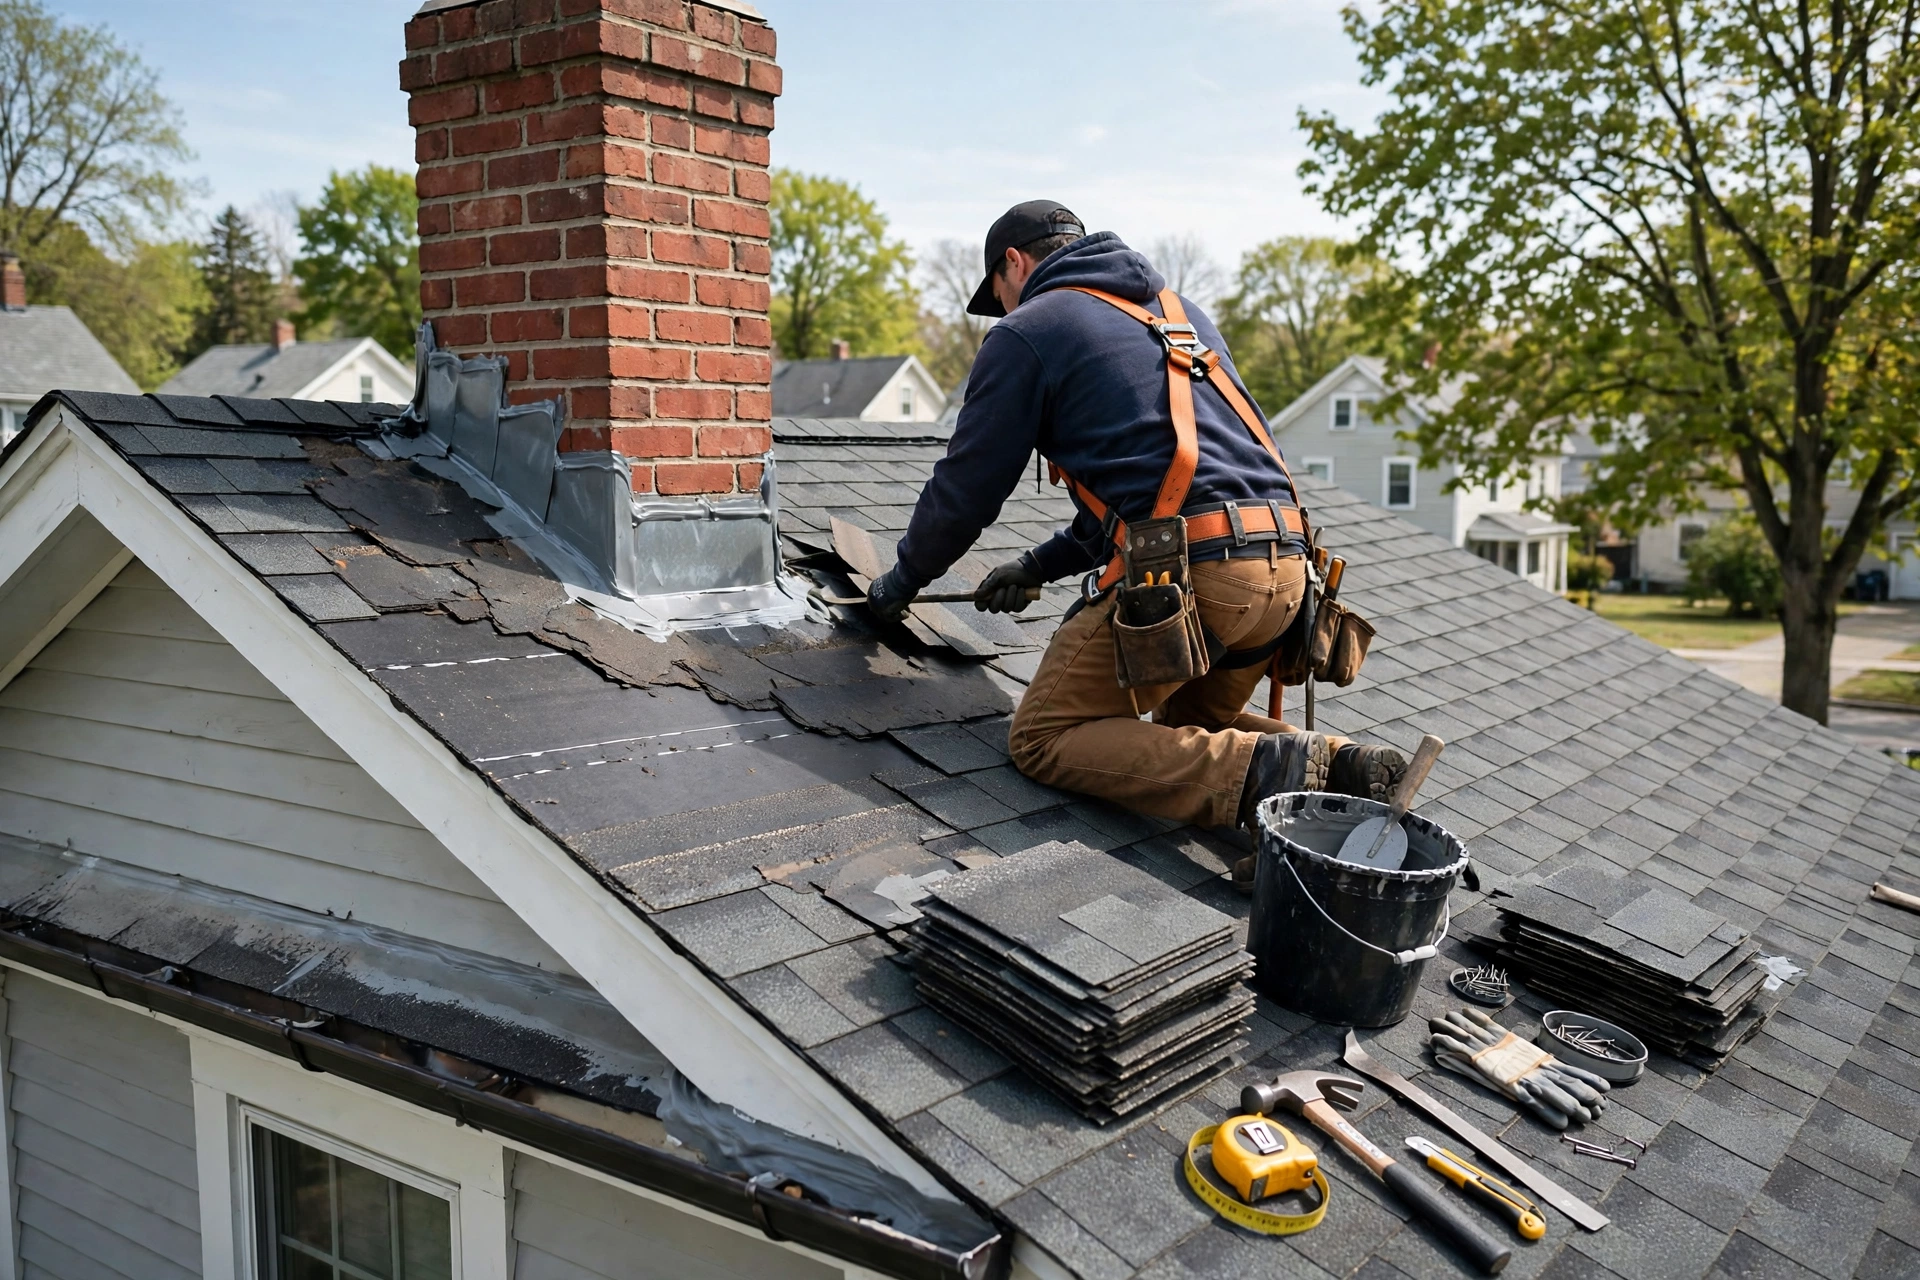
A leak report can feel like the end of the story. In practice it is the middle: the inspection found where water is getting in and what it has affected, and what happens next decides whether the leak stays fixed. Homeowners most often go wrong not by ignoring the report, but by acting on it out of order — paying for a repair that addresses a symptom while the entry point stays open, or skipping the final check that would have caught a repair that did not hold. If you have not yet had the leak traced, start with our guide to roof leak inspection in Westfield.
Reading the Report as a Repair Scope
A useful leak report does more than name a leak. It separates three kinds of findings, and your repair plan should treat them differently. First are the entry points: the flashing, seam, valley, or penetration detail where water is actually getting under the covering. Second is the affected area: decking, underlayment, or interior finishes that water has already reached, which may need drying, repair, or monitoring even after the entry point is closed. Third are the contributing conditions: blocked drainage, worn sealant, or a detail installed in a way that invites repeat failure, which explain why the leak happened and what would make it happen again.
When you hand the report to a roofer, ask for a written scope that maps to it item by item: which entry points will be repaired, by what method, and what will happen to the affected area underneath. A scope that says only "repair leak" without naming the detail is not a scope; it is a promise without a description, and it leaves you unable to tell afterward whether the right work was done. Keep the report with the scope: it is the baseline the re-inspection will be measured against.
Note too what the report does not claim: it describes the roof as inspected on that day, and does not turn a localised repair into a whole-roof renewal. If it recommends a broader repair, read the reasoning — widespread covering failure is a different conversation from a single failed detail, as our guide to repair or replace after a roof inspection report explains.
Temporary Mitigation First
Between the report and the repair, water may still be entering. Temporary mitigation limits further damage in that gap: covering an exposed area, diverting water away from the entry point, and protecting interior finishes beneath the leak. It is not a repair, and should never be sold or described as one, but every additional wetting can extend the affected area and complicate the eventual repair.
Record what was placed and where, with photos, so the roofer can see what is temporary and remove it properly. Keep interior protection in place until the repair is complete and checked, not just until the next dry spell — a leak that has stopped showing indoors has not necessarily stopped entering the roof assembly. If the roof is steep, fragile, or storm-damaged, leave roof-level mitigation to someone equipped for it.
Common Repair Types (General)
Most leak repairs fall into a handful of general types. Shingle or covering repairs replace damaged or missing pieces and restore the overlapping pattern that sheds water. Flashing repairs address the metal or membrane details where the roof meets a wall, chimney, valley, or penetration — the joints where leaks most often begin. Sealant and seam work renews sealed joints on flashings, vents, and flat-roof seams that have cracked or separated with age and movement.
Drainage repairs clear or correct the gutters, valleys, and outlets that let water sit against a detail instead of leaving the roof. Decking and underlayment repairs deal with the layers beneath the covering where prolonged wetting has damaged the material — repairs a homeowner cannot see from the ground, which is why the report's photos matter. Vent and penetration repairs reseal or replace the boots and collars around pipes and vents that have split or loosened. None of these is inherently the "right" repair; the right one matches the entry point the report identified.
Re-Inspection After Repair
The re-inspection is the step most often skipped, and the one that most often would have caught a problem early. Its job is straightforward: revisit the repaired areas, compare them with the original findings, and document the result with photos. A thorough re-inspection checks that the named entry points were actually addressed, that the repaired details are sealed and correctly lapped, and that the affected area underneath shows no continuing wetness where it can be observed.
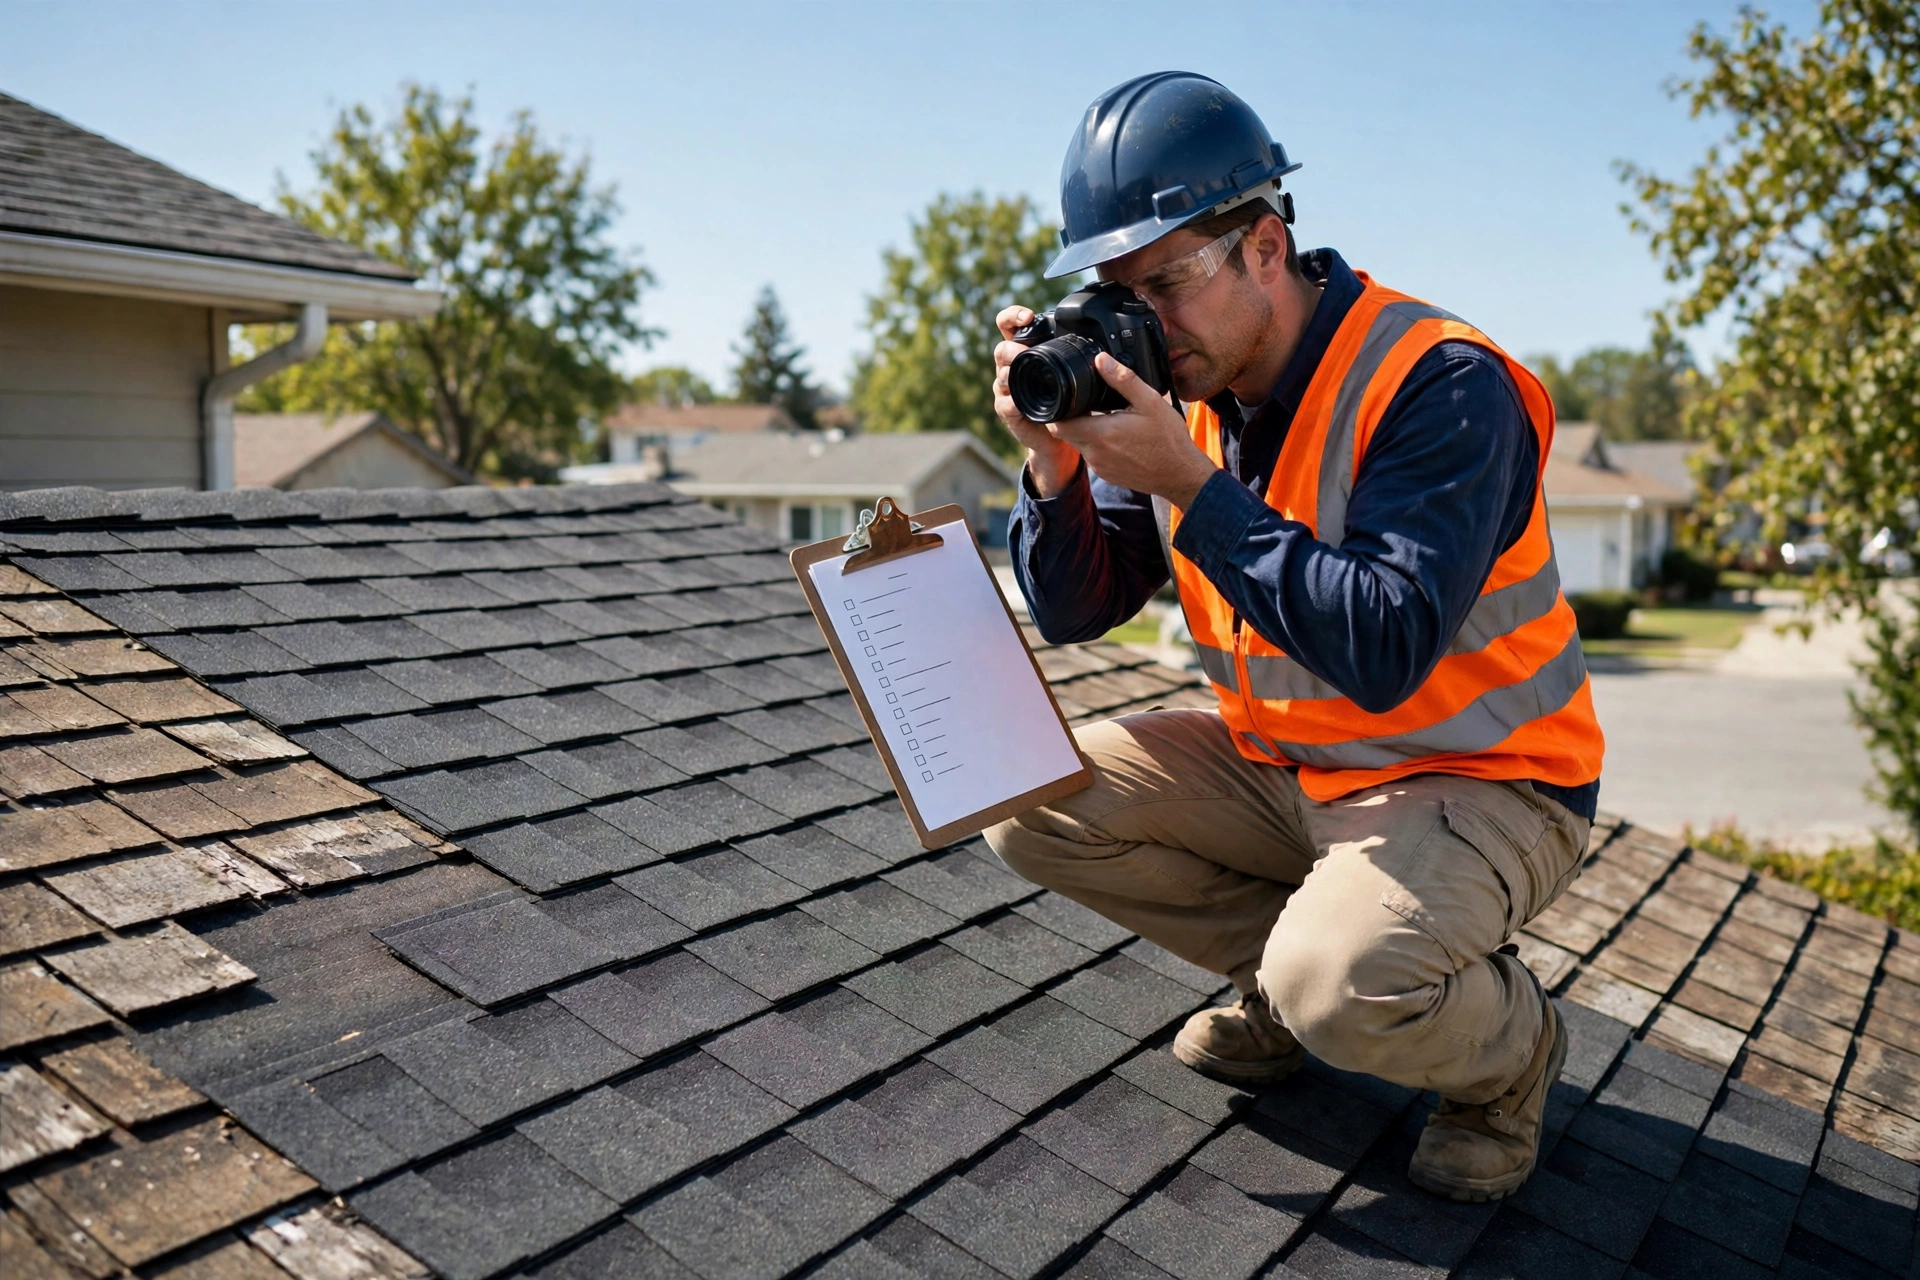
A re-inspection done the same day the repair is finished confirms workmanship; a follow-up after the roof has seen rain confirms performance. Ideally the record includes both. If the re-inspection finds the repair incomplete, that is a success, not a failure of the process — it caught the gap while the roofer's scope is still open. Ask for the record in writing, with photos keyed to the original report's findings, and file it with the original report and the repair scope.
Where a claim is involved, that paper trail matters even more. Whether any part of the repair is covered depends on your policy — check your policy documents and ask your insurer directly. A documented sequence will convince an insurer, a buyer, or a future inspector far more than a verbal assurance. For the detection methods behind the original findings, see our roof leak detection service.
What Not to Do Yourself
Some homeowner instincts after a leak report make things worse. Do not seal over a leak from inside the attic and consider it handled: interior sealant can redirect water sideways into framing and insulation while hiding the stain that would have warned you. Do not coat a whole slope with sealant in the hope of covering the entry point; blanket coatings can trap moisture and make the eventual repair harder. Do not walk a steep, wet, or storm-weakened roof to "take a look" — foot traffic on damaged shingles or fragile materials can widen the failure.
Do not authorise a full-roof replacement on the strength of a single leak without a report that supports it, and do not accept a repair scope from the same party that stands to profit from the size of the job without an independent check. The person who found the leak should not be the only person who decides how big the repair is.
Related reading: roof leak inspection in Westfield and repair or replace after a roof inspection report.
Close Out Your Leak Properly
Book a re-inspection that checks the repaired areas against your original report, with photos. Call (213) 646-7883.
Roof Leak DetectionFrequently Asked Questions
Not necessarily. Start with the items the report ties directly to the leak entry point and to active water entry, then work outward to secondary and preventive items. A good report ranks findings so you can sequence the work rather than treating every note as equally urgent.
No. Mitigation limits further water entry while a proper repair is arranged; it does not restore the roof covering or the flashing detail. Treat it as a holding measure with a repair plan behind it, and keep a record of what was placed and where.
Because the original leak may have had more than one entry point, and a repair can look complete from the ground while a flashing detail or seam underneath is still open. A re-inspection checks the repaired areas against the original findings and documents the result with photos.
That depends on your policy and on whether a claim is involved, so check your policy documents and ask your insurer directly. Keep the inspection report, the repair scope, invoices, and the re-inspection record together either way — they are the paper trail for any future question about the roof.